How to create a fully working contact form for your website
Discover how to build a contact form that's both user-friendly and fully operational for your website with the assistance of HTML, CSS, JavaScript, and the complimentary service provided by formsubmit.co. We will walk you through creating a polished-looking contact form that is straightforward to set up and utilize, as well as keeping your email address secure from spammers. Our article contains code snippets, step-by-step directions, and practical advice to assist you in personalizing the form to your preferences. Download the entire code and add it to your website right now!
A contact form is an essential component of any website. It needs to look professional and perform its primary function of facilitating easy and secure communication between visitors and site administrators. In this post, we'll create a fully functional contact form using HTML, CSS, JavaScript, and the free formsubmit.co service. The resulting form will be user-friendly and provide a seamless communication experience for your site visitors.
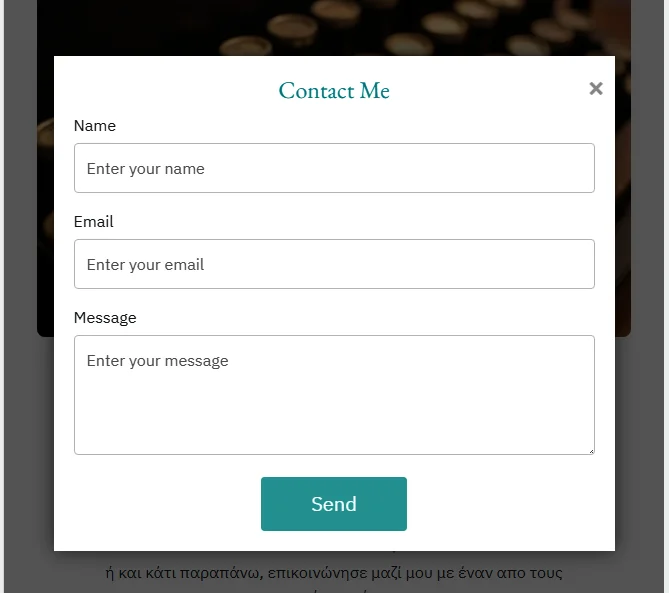
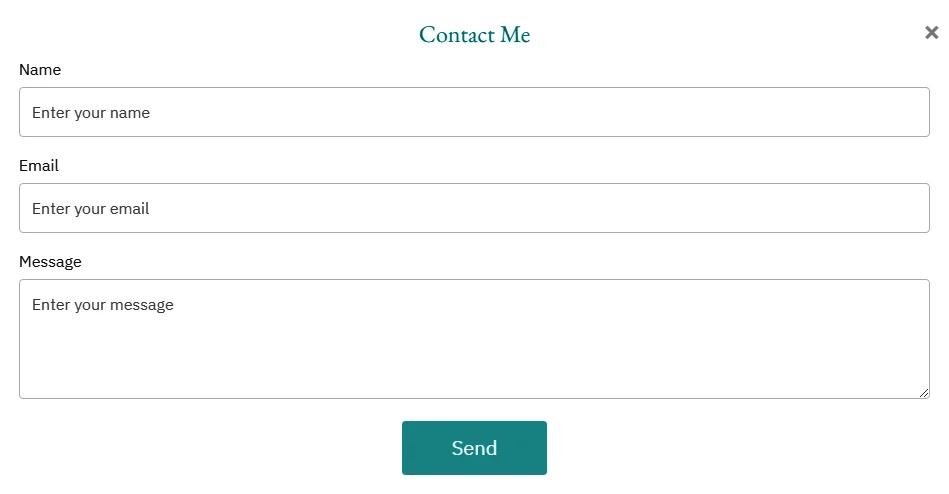
The HTML page is the easy part. We'll create a button that opens up the popup contact form, and a form tag with inputs for all the information we need from the user. Specifically, this form asks for their name, email, and message as the only inputs required. Finally, we'll create the button that sends the message. The HTML code for this page will look something like this:
<button id="open-popup" class="btn">Contact Me</button>
<div class="popup" id="popup">
<div class="popup-container">
<h2>Contact Me</h2>
<form id="contact-form" action="https://formsubmit.co/your-random-like-string" method="POST">
<!-- CAPTCHA enabled for now, disable unchecking the code below -->
<!-- <input type="hidden" name="_captcha" value="false"> -->
<input type="hidden" name="_autoresponse" value="
Thank you for your message, I will be in touch with you shortly.
">
<input type="hidden" name="_next" value="https://a2926z.github.io/chris_website/">
<label for="name">Name</label>
<input type="text" id="name" name="name" placeholder="Enter your name" required>
<label for="email">Email</label>
<input type="email" id="email" name="email" placeholder="Enter your email" required>
<label for="message">Message</label>
<textarea id="message" name="message" placeholder="Enter your message" required></textarea>
<button type="submit" class="submit-btn">Send</button>
</form>
<a class="close" href="#">×</a>
</div>
</div>
The only thing that requires explanation is the "your-random-like string" found in the form's action. After creating the form and submitting a test message, formsubmit.co will send a confirmation email to the email address you provided for receiving messages. Upon confirming the email, you will receive a second email containing a unique string of letters and numbers, referred to as "your-random-like string". This string needs to be added to your HTML page instead of your personal email address. By doing so, your email address will remain hidden from spammers who may try to view it in the page's code. However, you will still be able to receive messages through formsubmit.co as usual.
After finishing your HTML page, the next step is to focus on CSS. This is where you can inject your unique style or seek assistance from others. In my case, I requested help from ChatGPT to refine my CSS, and I must say, the outcome was exceptional. The finished code is available at the conclusion of this article, hence I won't delve into further specifics at this point.
JavaScript has three main tasks to perform. It can open the form as a popup, close it, and check for any errors in the email. Additionally, it can close the form if you click outside of it and prevent the page from scrolling to the top if you simply close the form, which is the default behavior. All of these actions require approximately 20 lines of code, which are presented below.
            $(document).ready(function () {

            // Open popup
            $("#open-popup").click(function () {
              $("#popup").fadeIn(300);
            });

            $("#popup, .close").click(function (event) {
              if ($(event.target).is("#popup, .close")) { // Check if click is outside of form or on close button
                event.preventDefault();
                $("#popup").fadeOut(300);
              }
            });

            // Form validation
            $("#contact-form").submit(function (event) {
              var email = document.getElementById("email").value;
              if (!/^([a-zA-Z0-9._-]+@[a-zA-Z0-9.-]+\.[a-zA-Z]{2,4})$/.test(email)) {
                alert("Please enter a valid email address.");
                return false;
              }
            });

          });
Finally , setting up the form submission functionality is really simple, as we explained earlier. Instead of requiring registration, you just need to configure the action attribute of the form tag like this:
action="https://formsubmit.co/your-email-address"
After confirming your email, you'll receive a unique and bolded string to replace "your-email-address" with. This helps keep your real email address hidden from spammers. And that's it – you're almost ready to go!
Additional settings allow you to automate your responses, disable CAPTCHAs (although not recommended by formsubmit), and create a new "thank you" page where users can see that their message has been successfully sent, among other optional configurations. Personally, I found it helpful, after the message, to auto-transfer the user to my main page and set up an automated response that reads, 'Thank you for your message, I will be in touch with you shortly.' For more optional settings, you can find them all on their webpage here.
Remember to include your personal details such as your email address, your unique string of characters, and the URL of your website in the respective fields. Additionally, it's important to link your CSS and JS folders to your HTML page to ensure proper functioning. This contact form works smoothly with Gmail too. You can easily download the complete code, comprising all the required HTML, CSS, and JavaScript files, from here and use it as per your requirements. To test the form, head to the bottom of my main page and give it a shot.